Creating
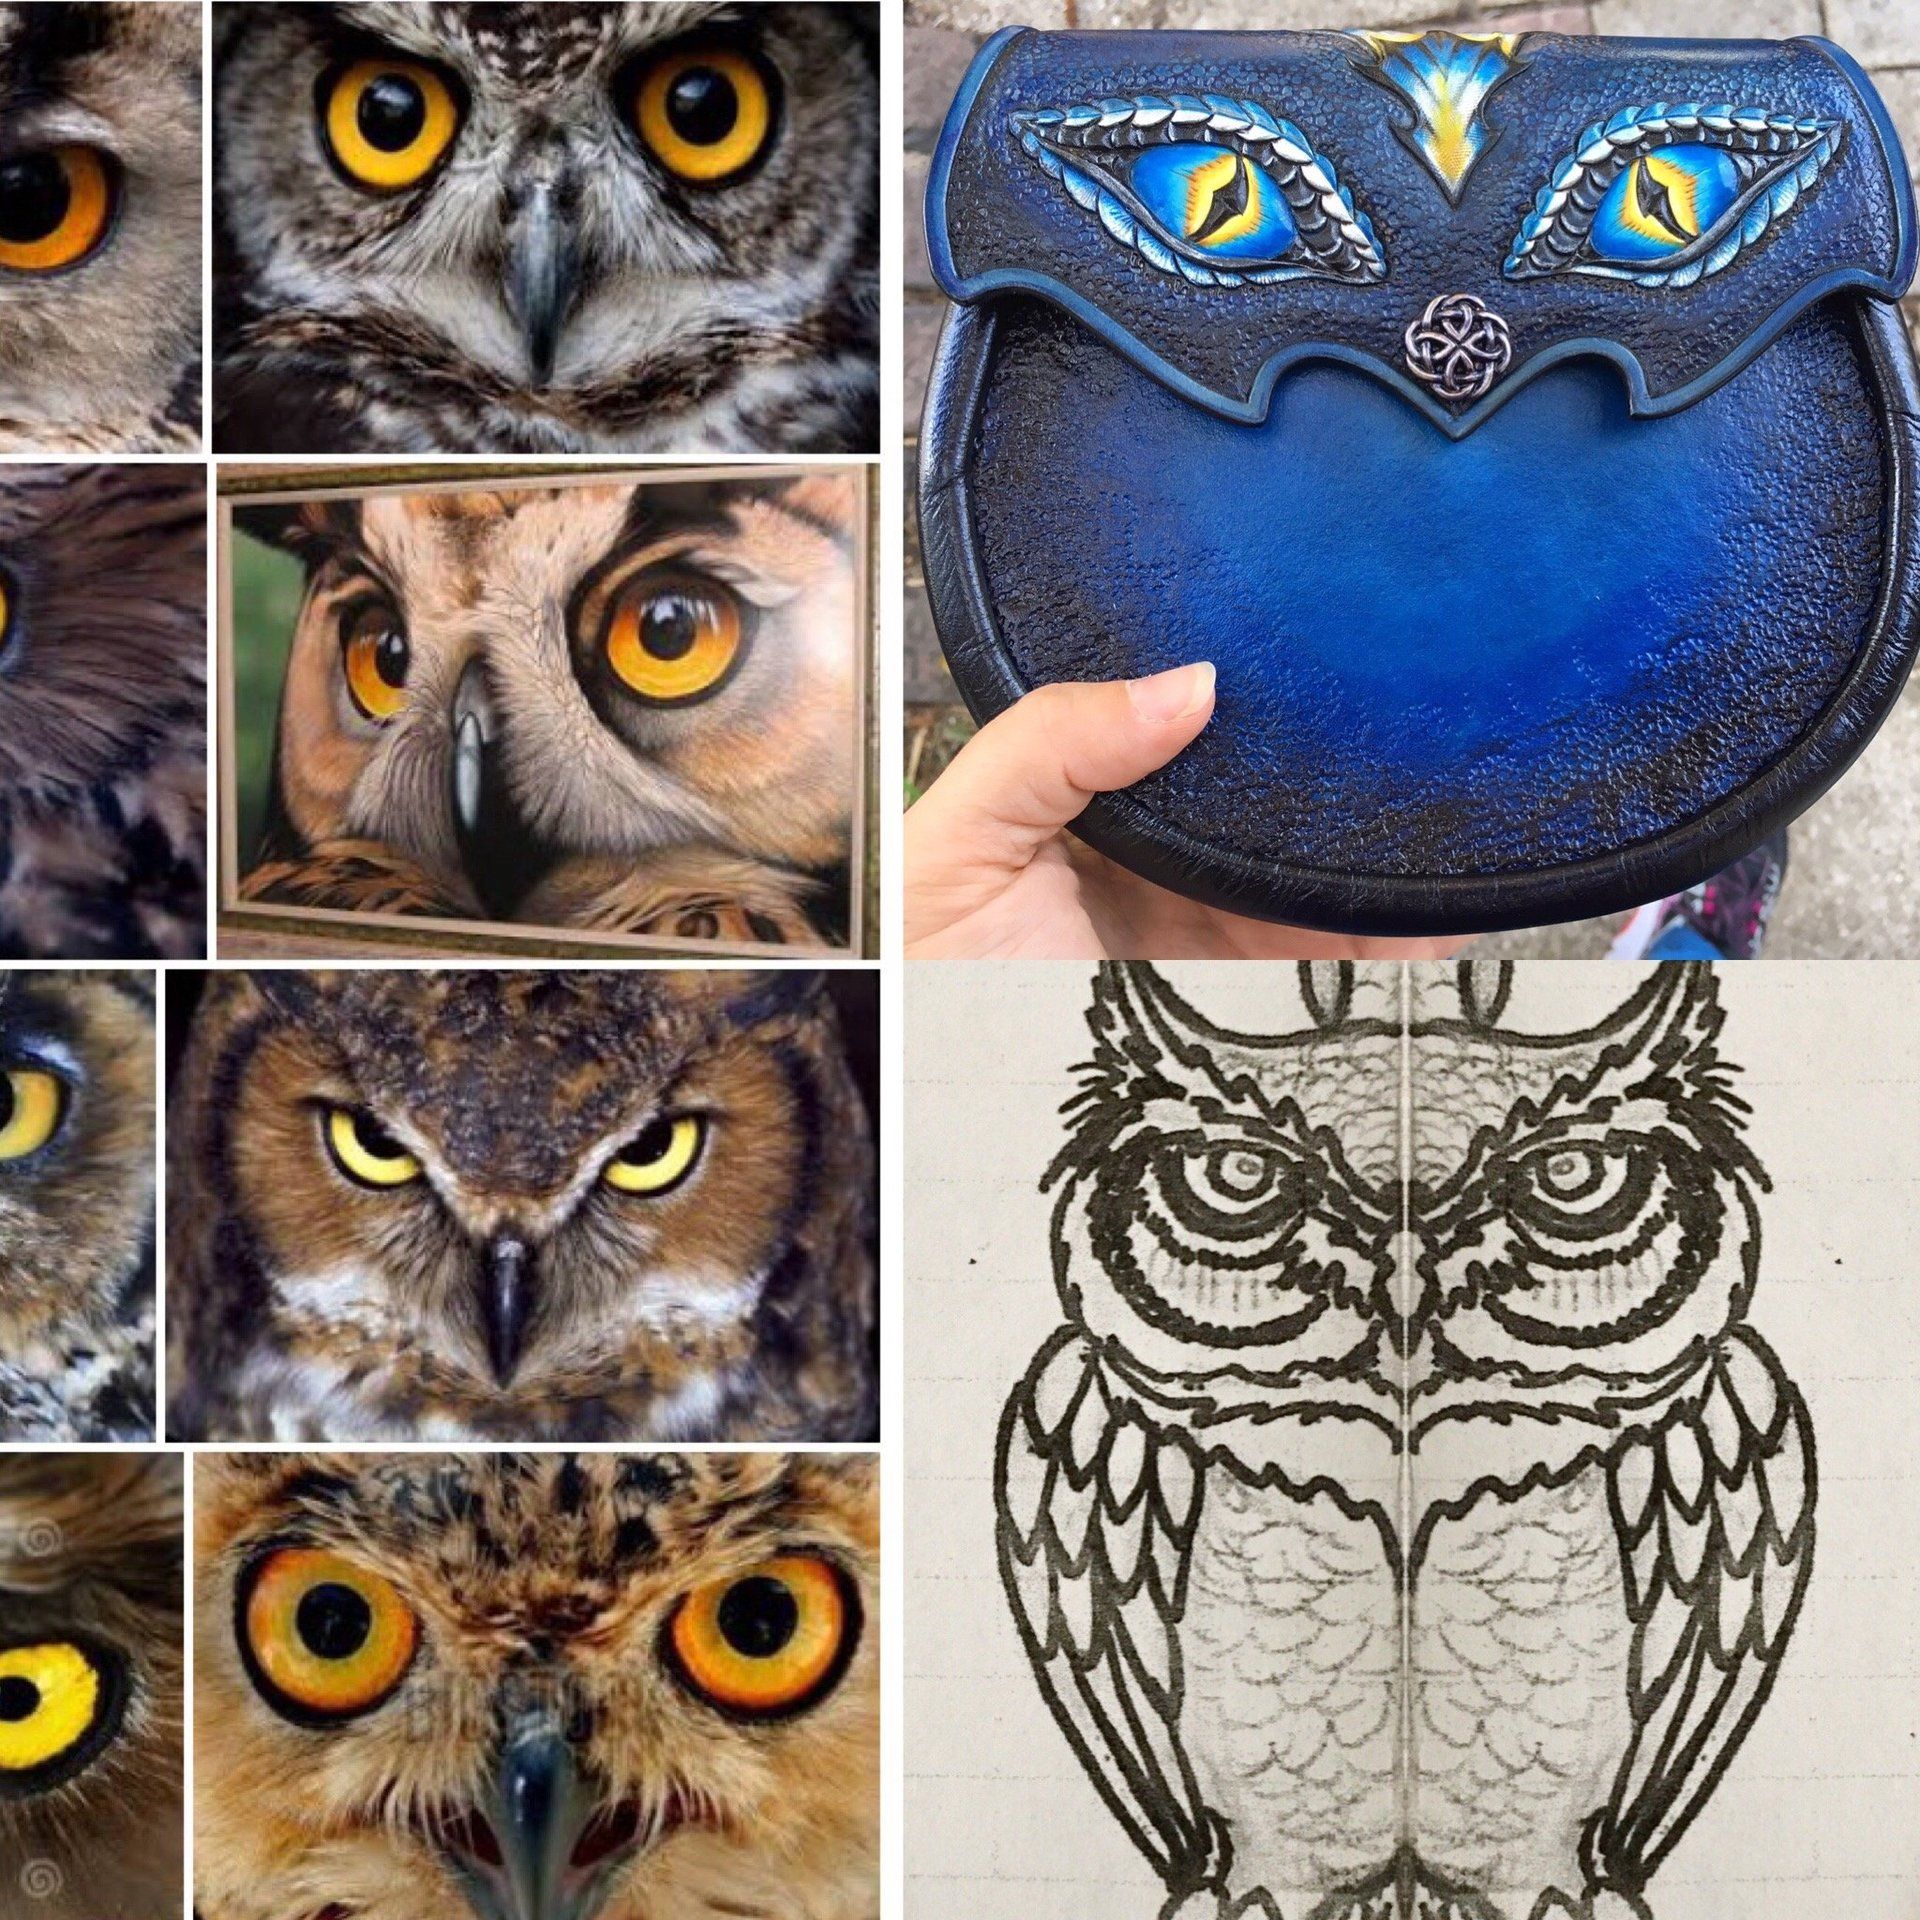
Gathering Inspiration
We all gather inspiration from the things about us. I use a mix of photographs, books, art, nature, architecture, history, colors and previous projects to get my imagination and design focus going. While respecting other artist's work and not copying.

Drawing the Design
"To the Drawing Board" is the first step once inspired. Creating a good pattern as well as awesome artwork is critical to producing great results. Using Graph paper helps to maintain symmetry.
Transferring Design to Film
Tracing the design with sharpie onto a clear plastic film is the next step once the artwork has been completed.

Cutting the Leather
Each individual project is cut from the main piece of leather using its unique template that I have created. I trace the shape and cut it out with scissors or a knife.
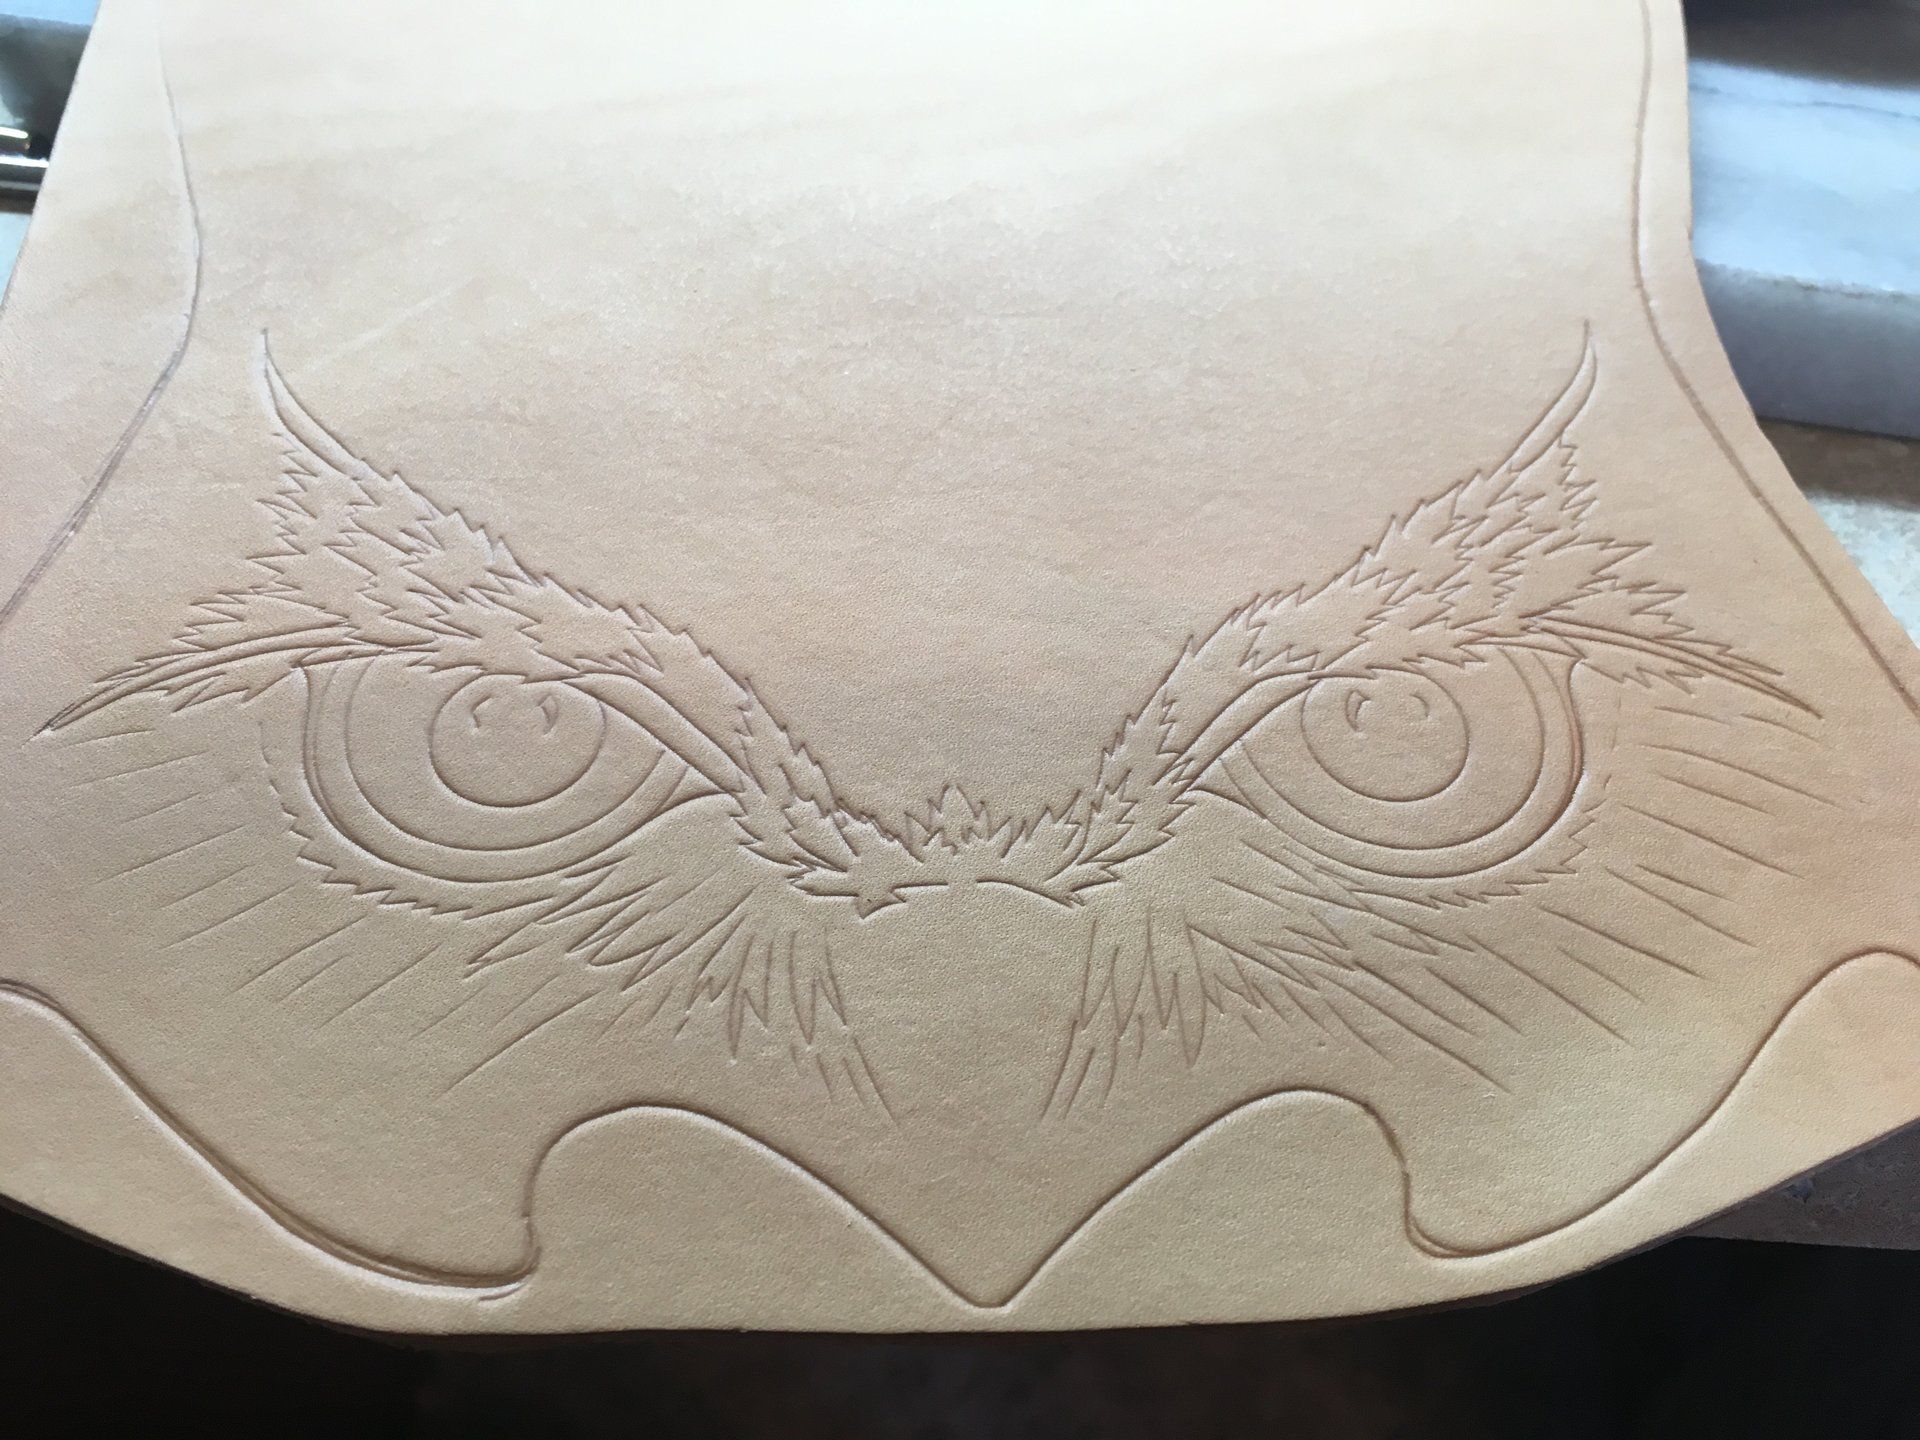
Transferring The Design to Leather
Vegtable Tanned leather is very impressionable and laying the clear film over damp leather and tracing with a sharp point will leave the design behind.
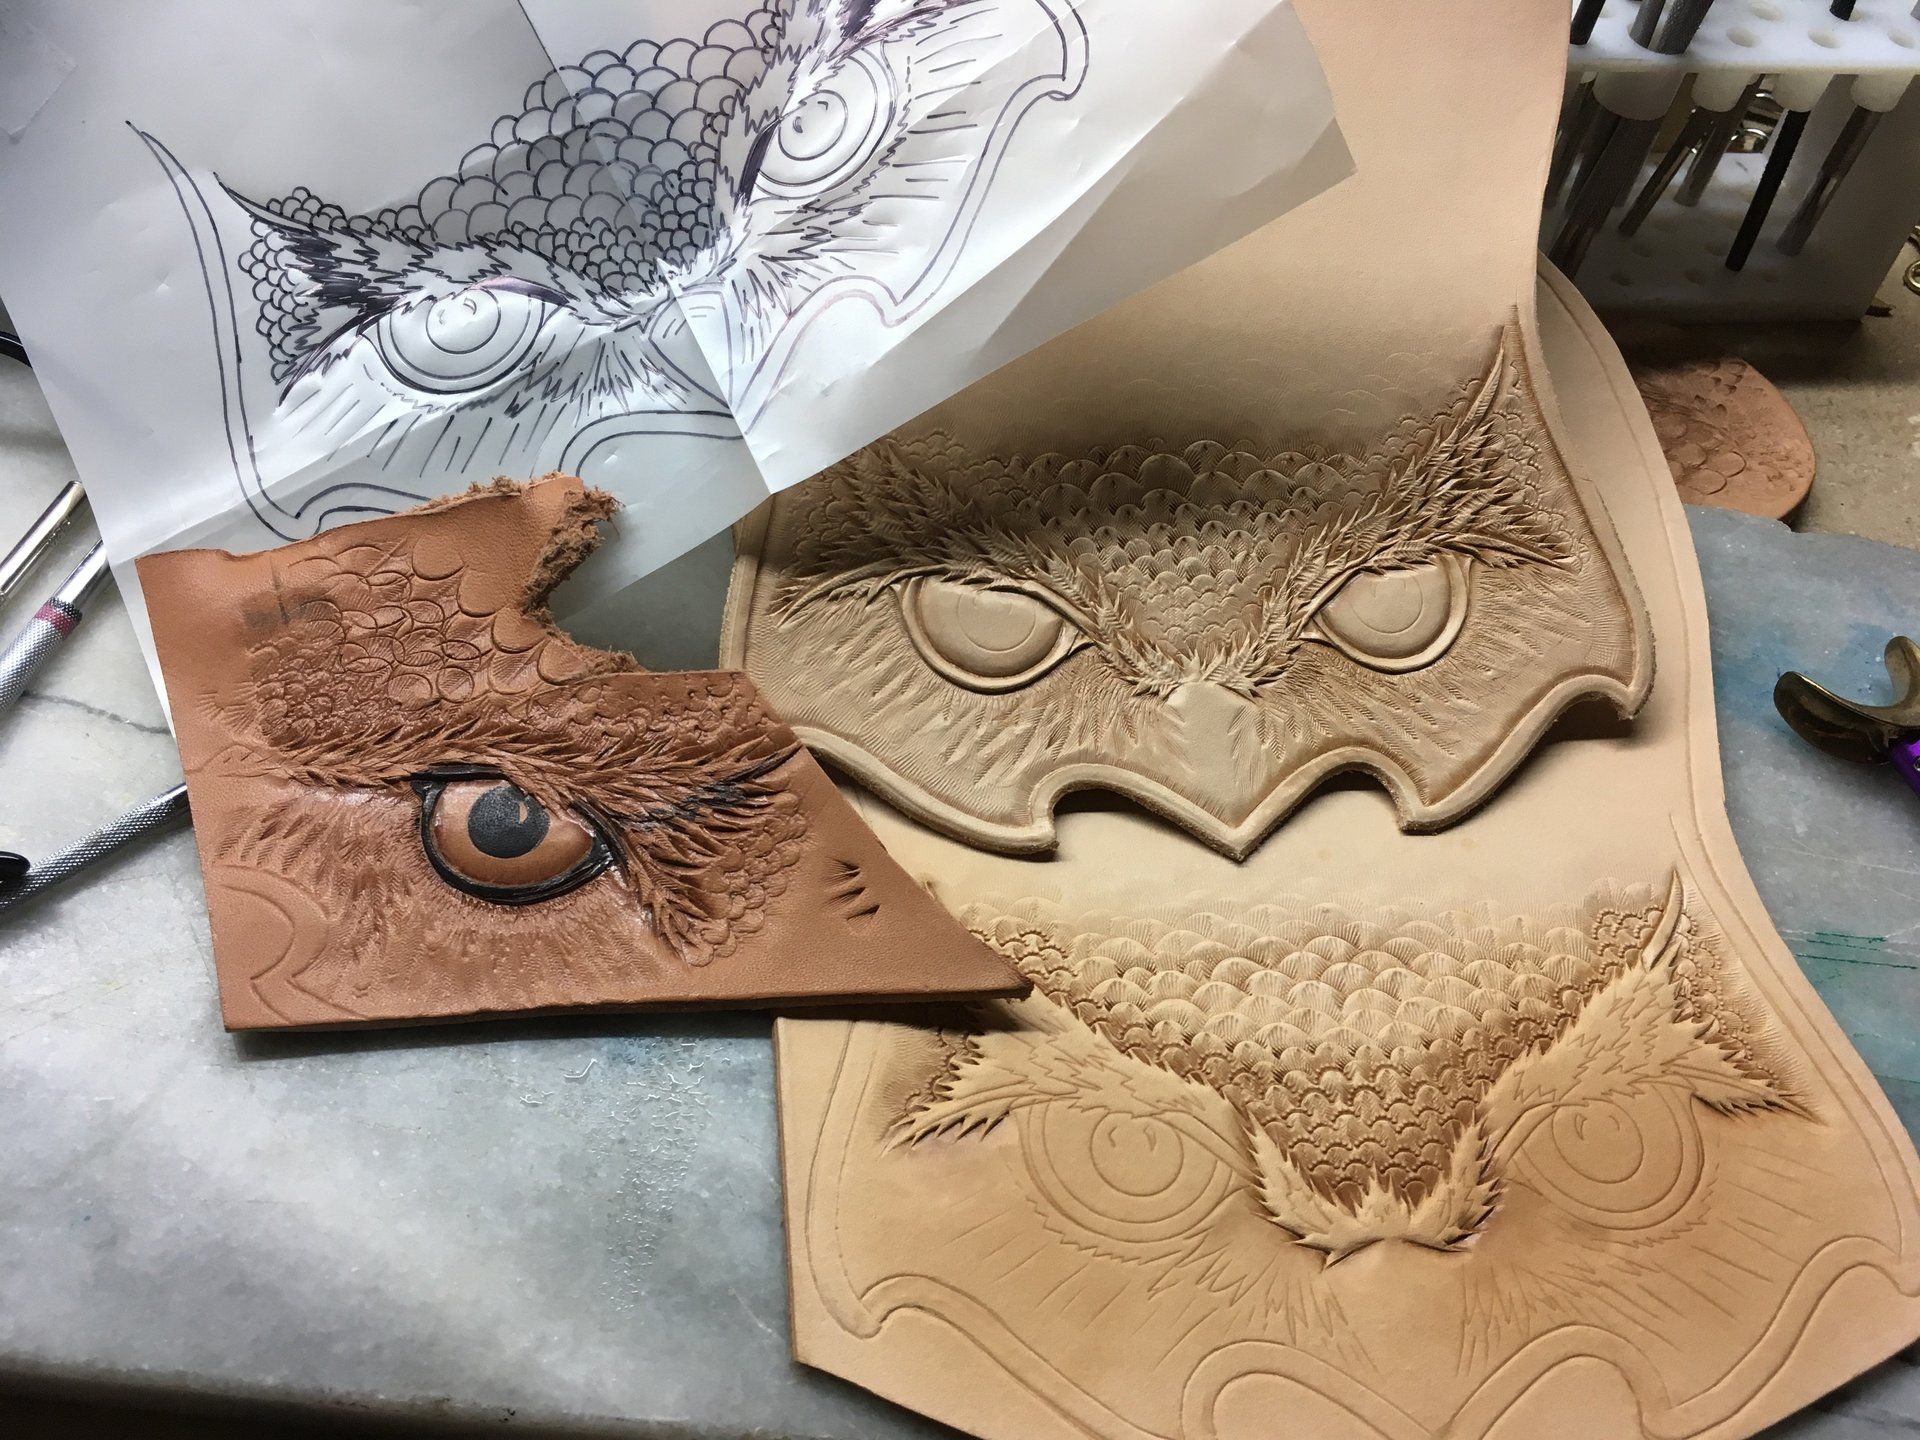
Tooling Test.
With new designs I do a trial tooling test to determine which tools will be best for creationing the desired look. Here I was trying for realistic feathers.

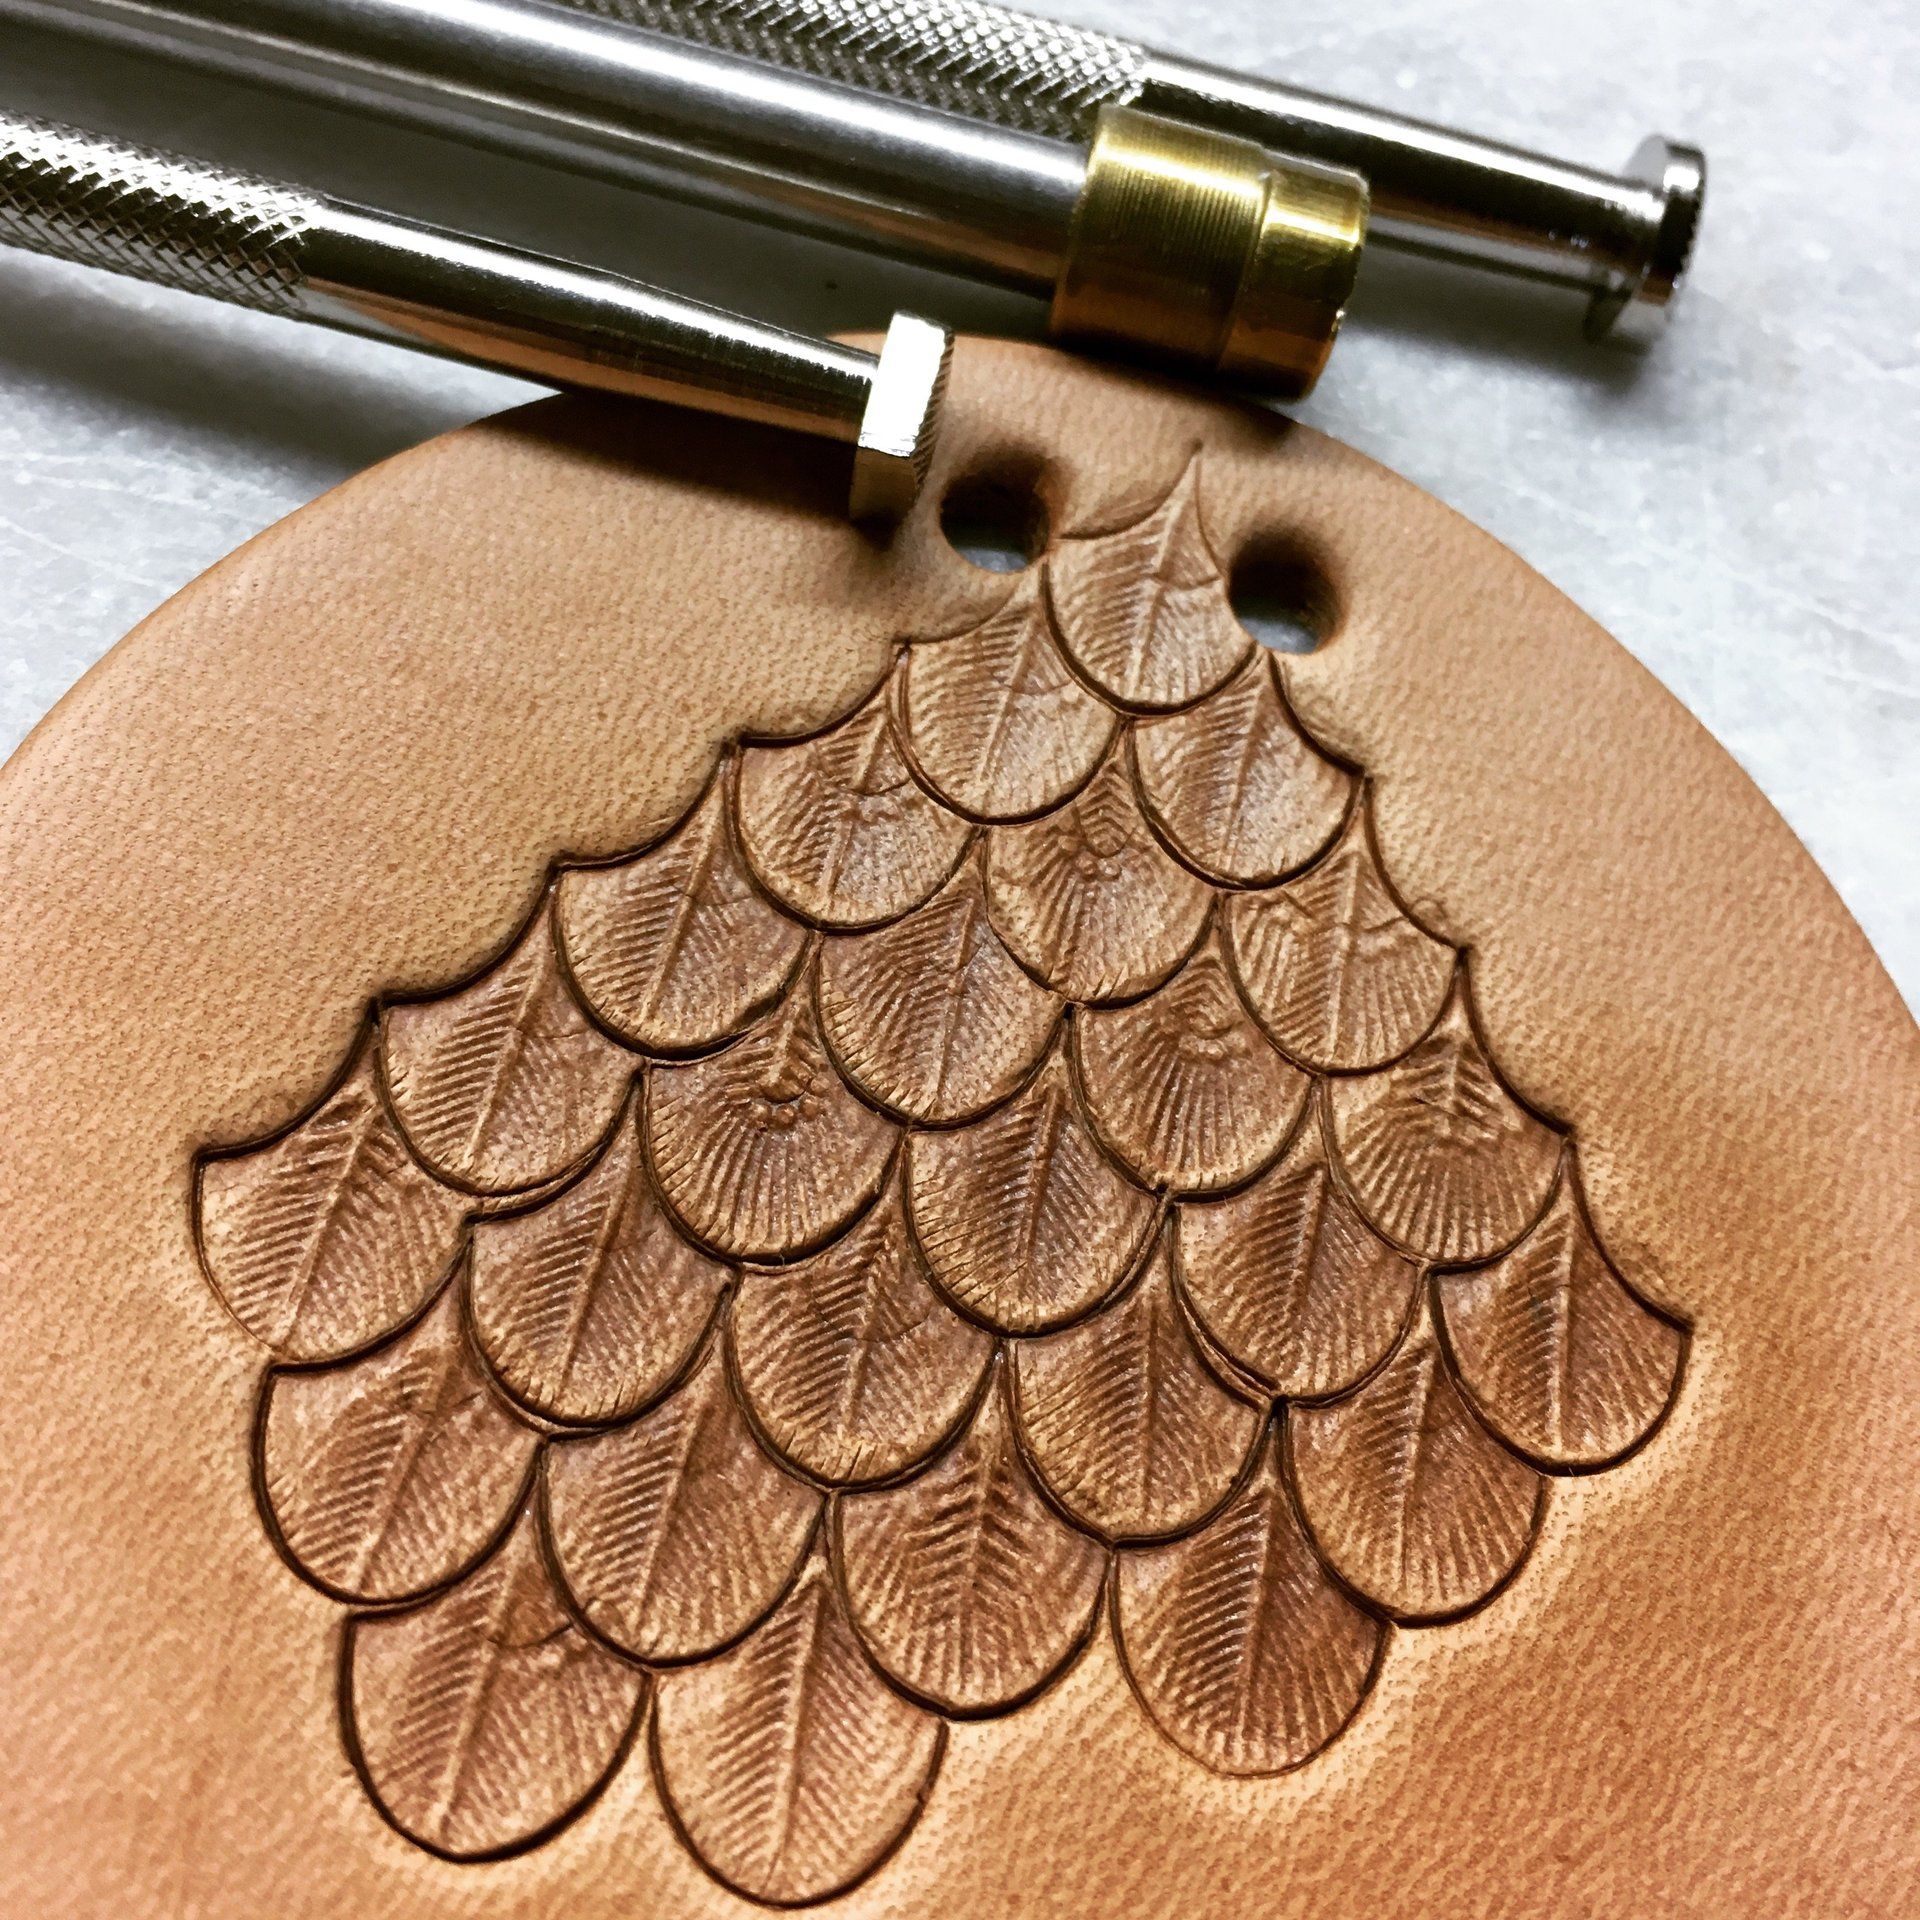
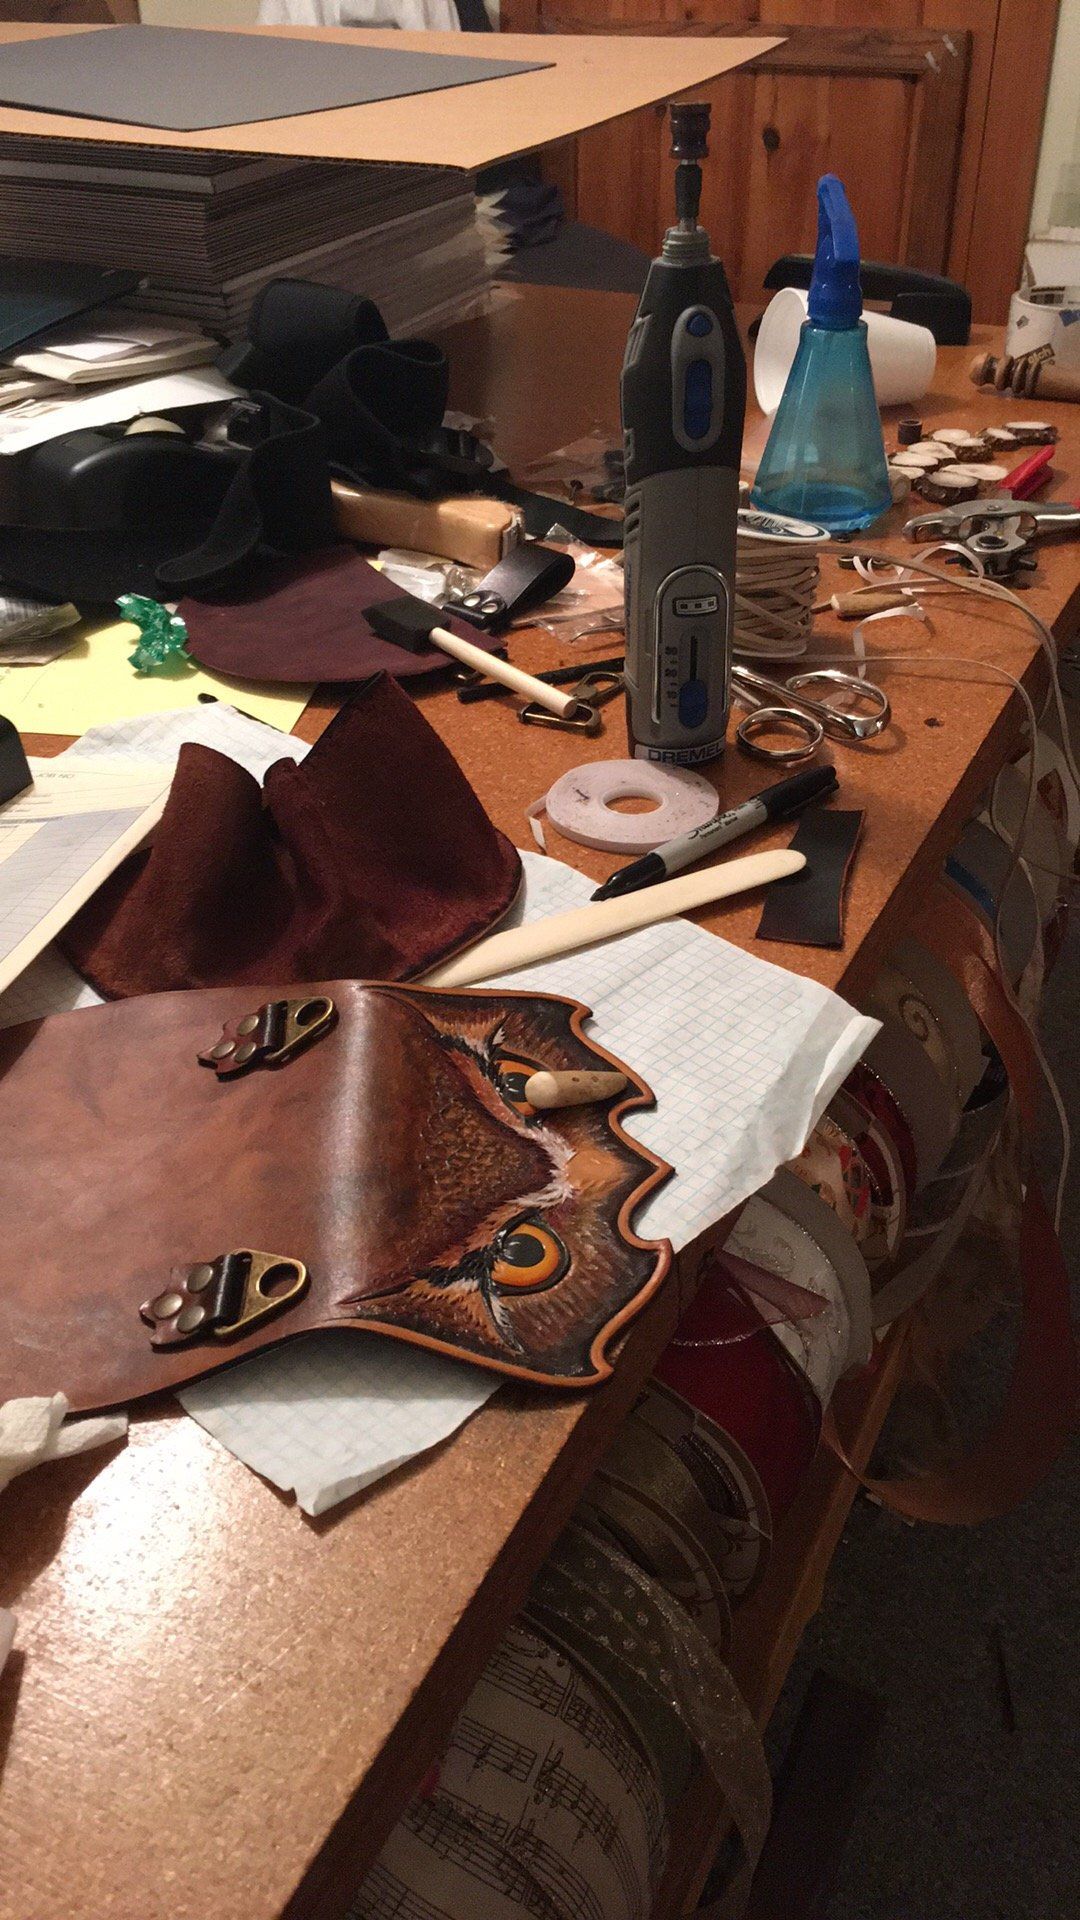
Tooling Tools
Short metal rods with ends that have different textures and shapes which leave inpressions in the leather when hit with a mallet.
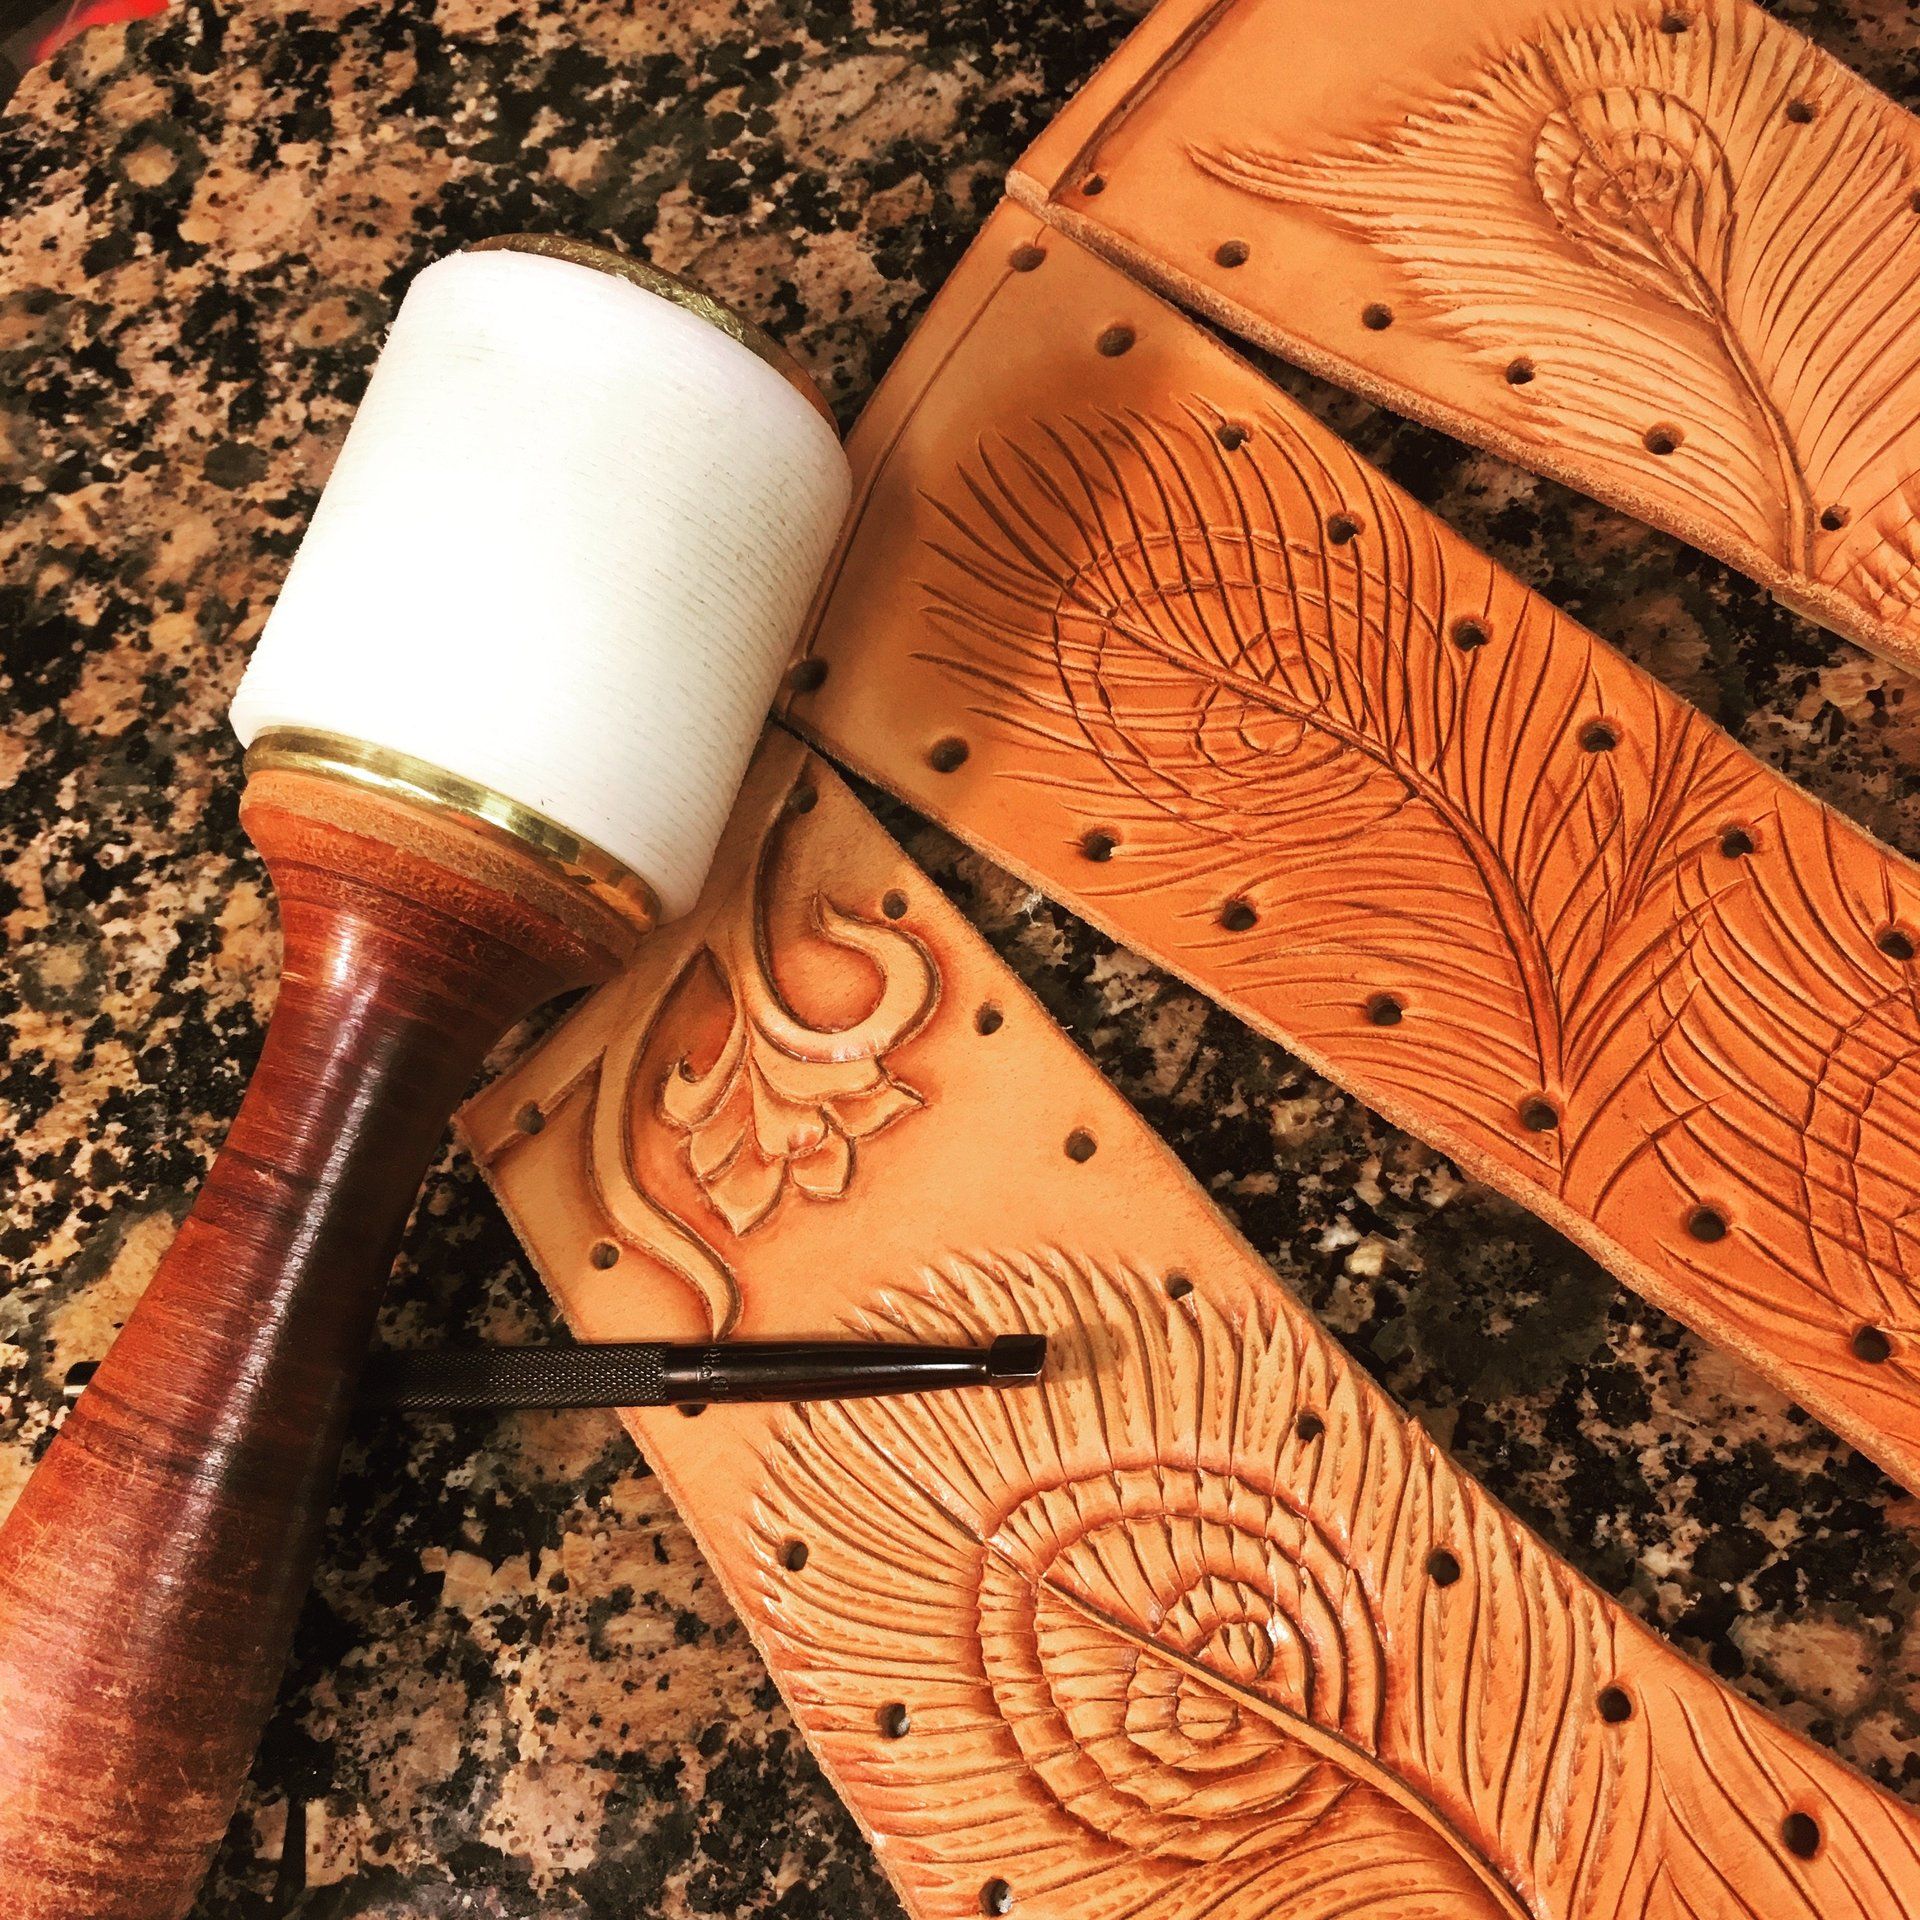
Tooling
Using metal tooling tools and a polymer mallet I imprint texture and lines into the damp leather one tap at a time. This process can range from 30 mins to 30 hours depending on the complexity of the artwork.
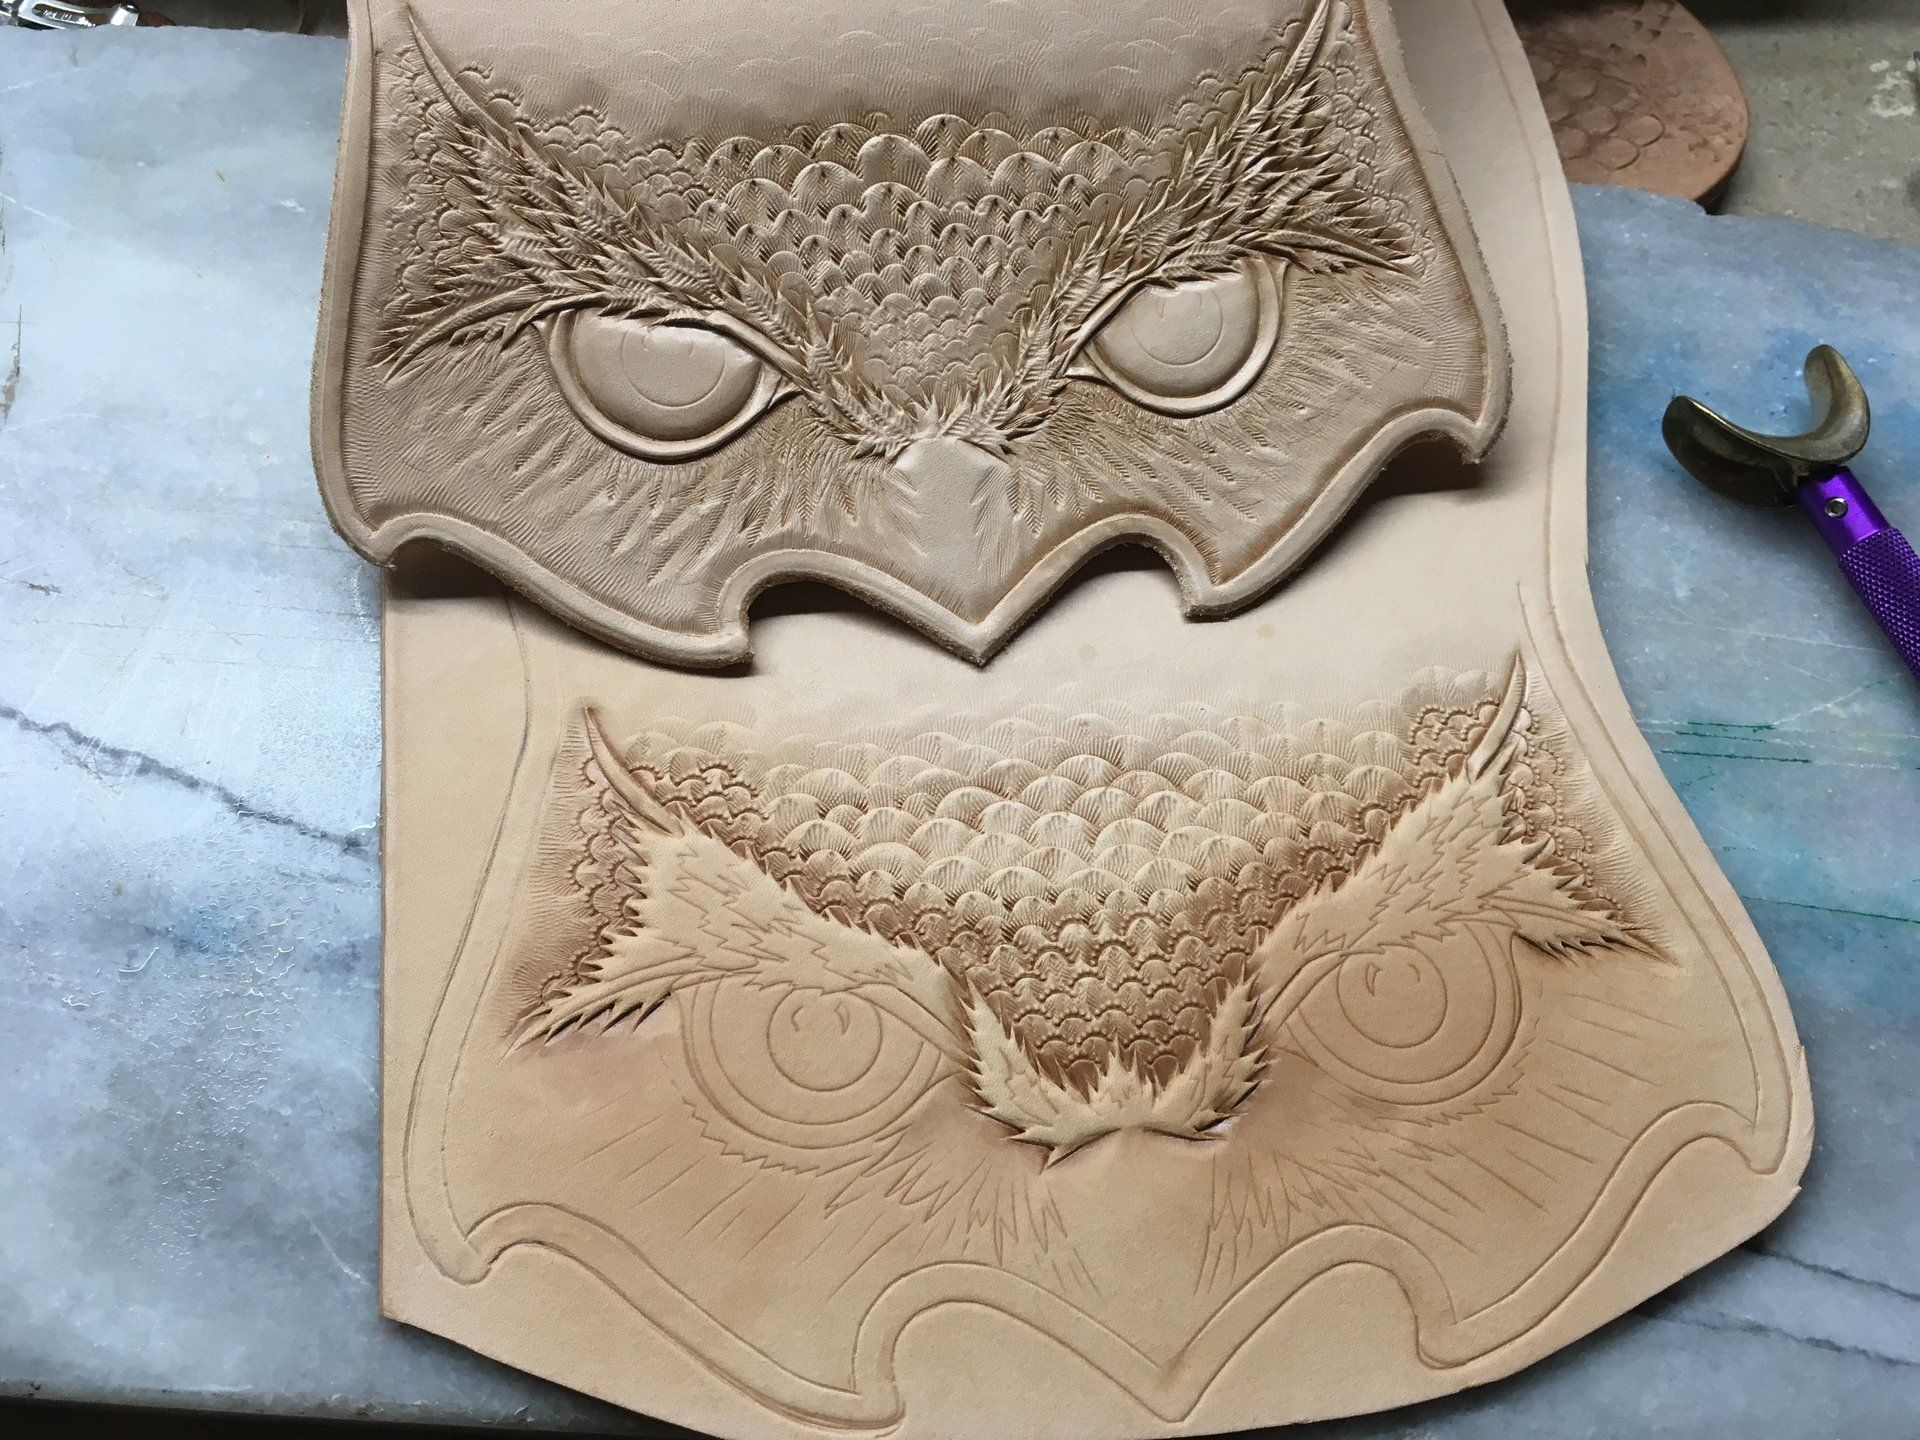
Tooling
A begining and finnished example of tooling.

Dyeing The Leather
Dyeing is the next step. Using alcholol based leather dyes I paint the background colors on to the leather with brushes. Useing dye as well as paint gives a richer range of colors and prolongs the color life of the piece.
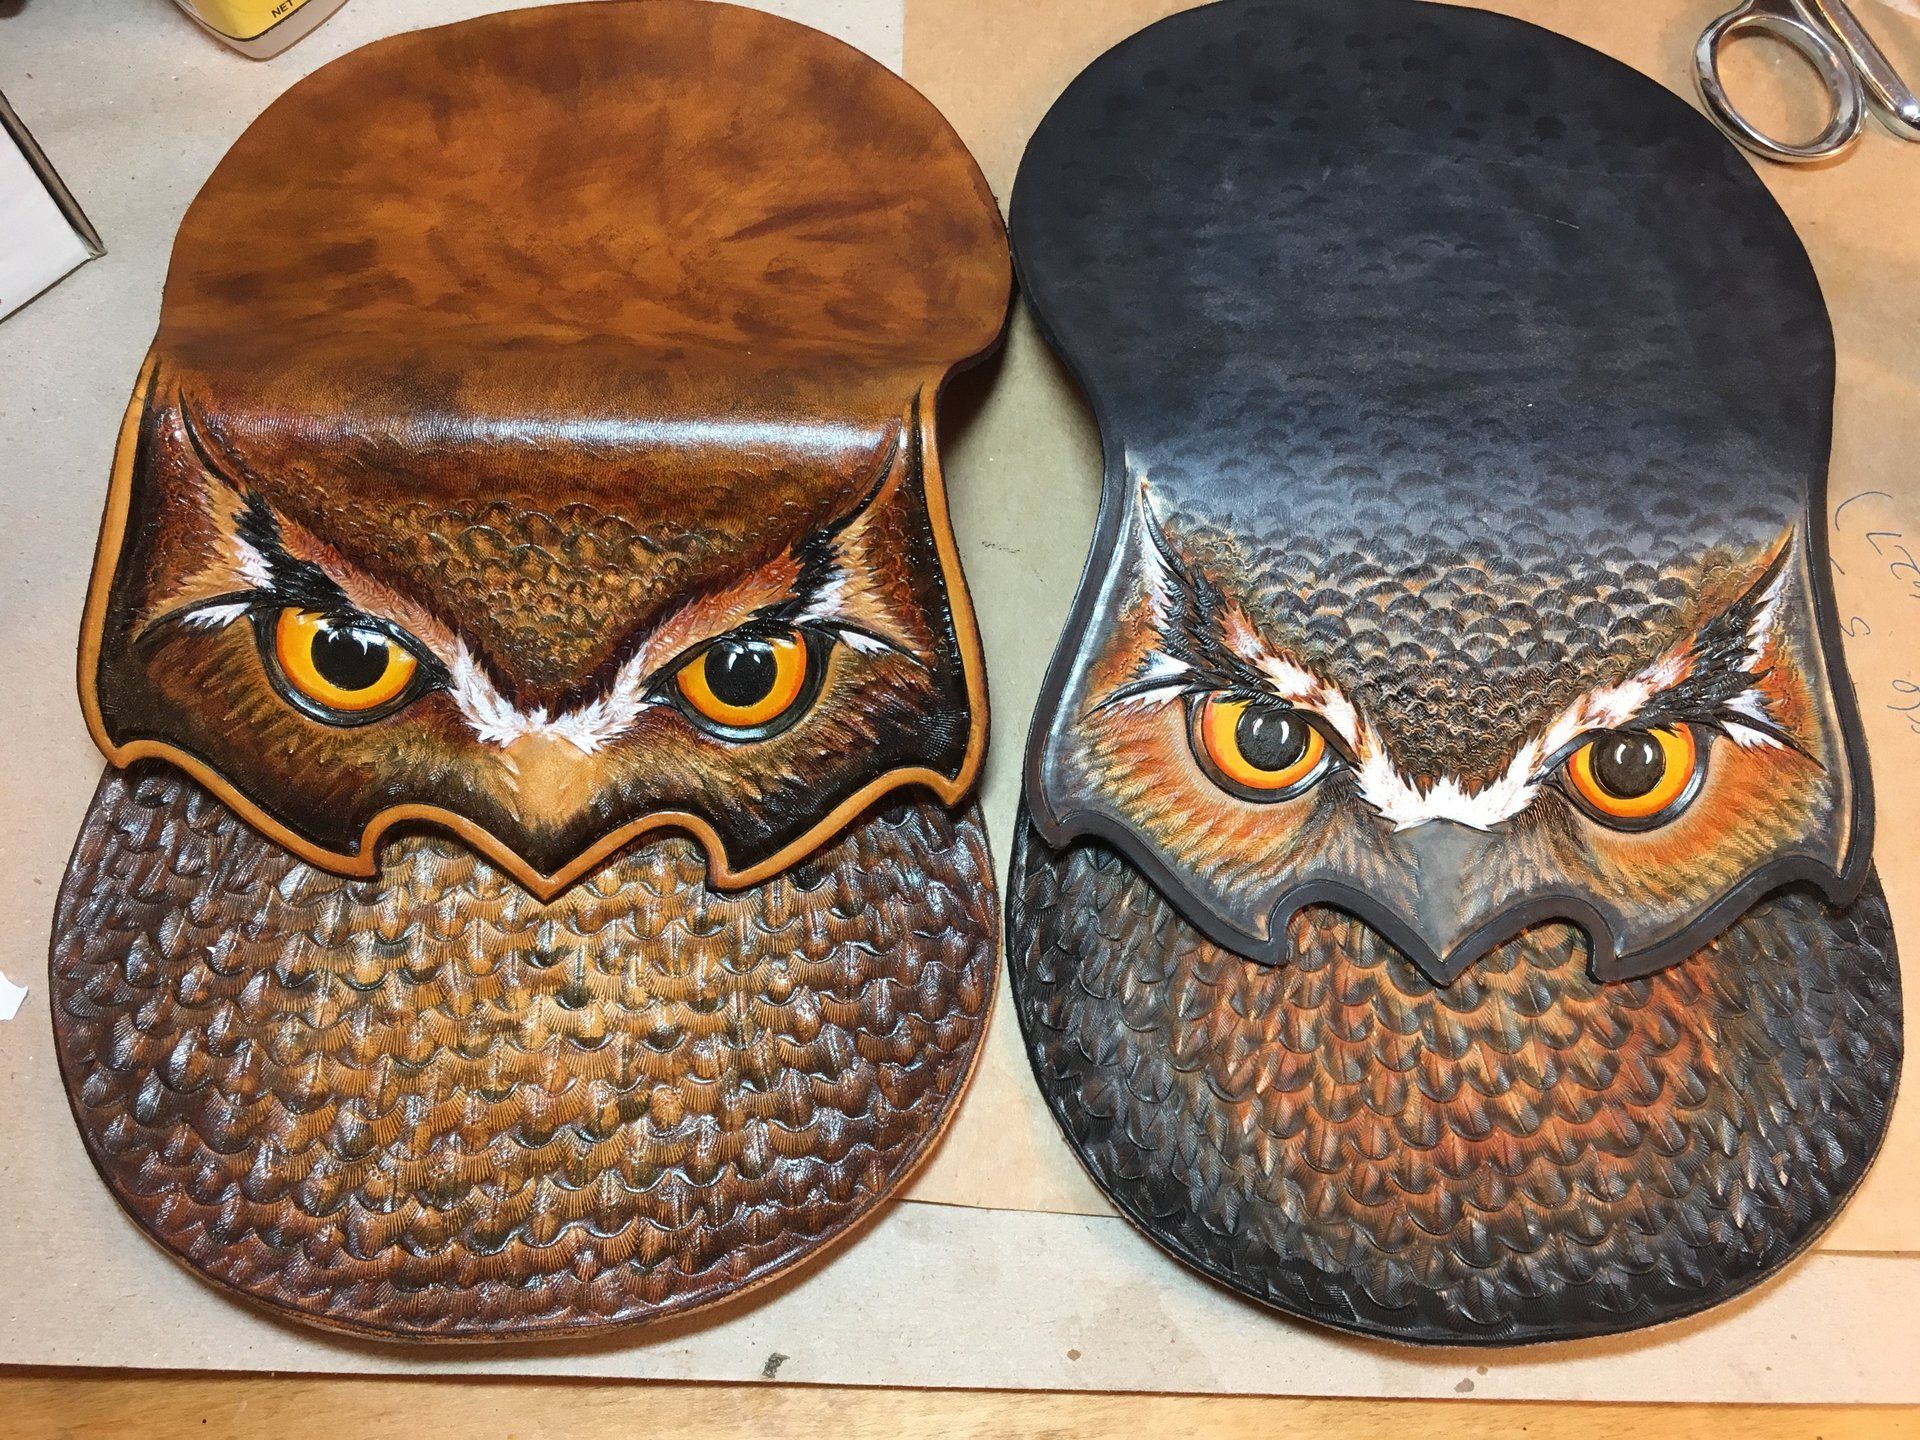
Painting & Clear Finishing
I add leather paint once the dye has dried. The paint adds contrast & vividness of color to the the dye work. Over time the dye mellows from the sun while paint retains its color. The combination creates a beautiful effect.
After the piece has had time to cure it is coated in a Clear finish that protects the dye and painting.
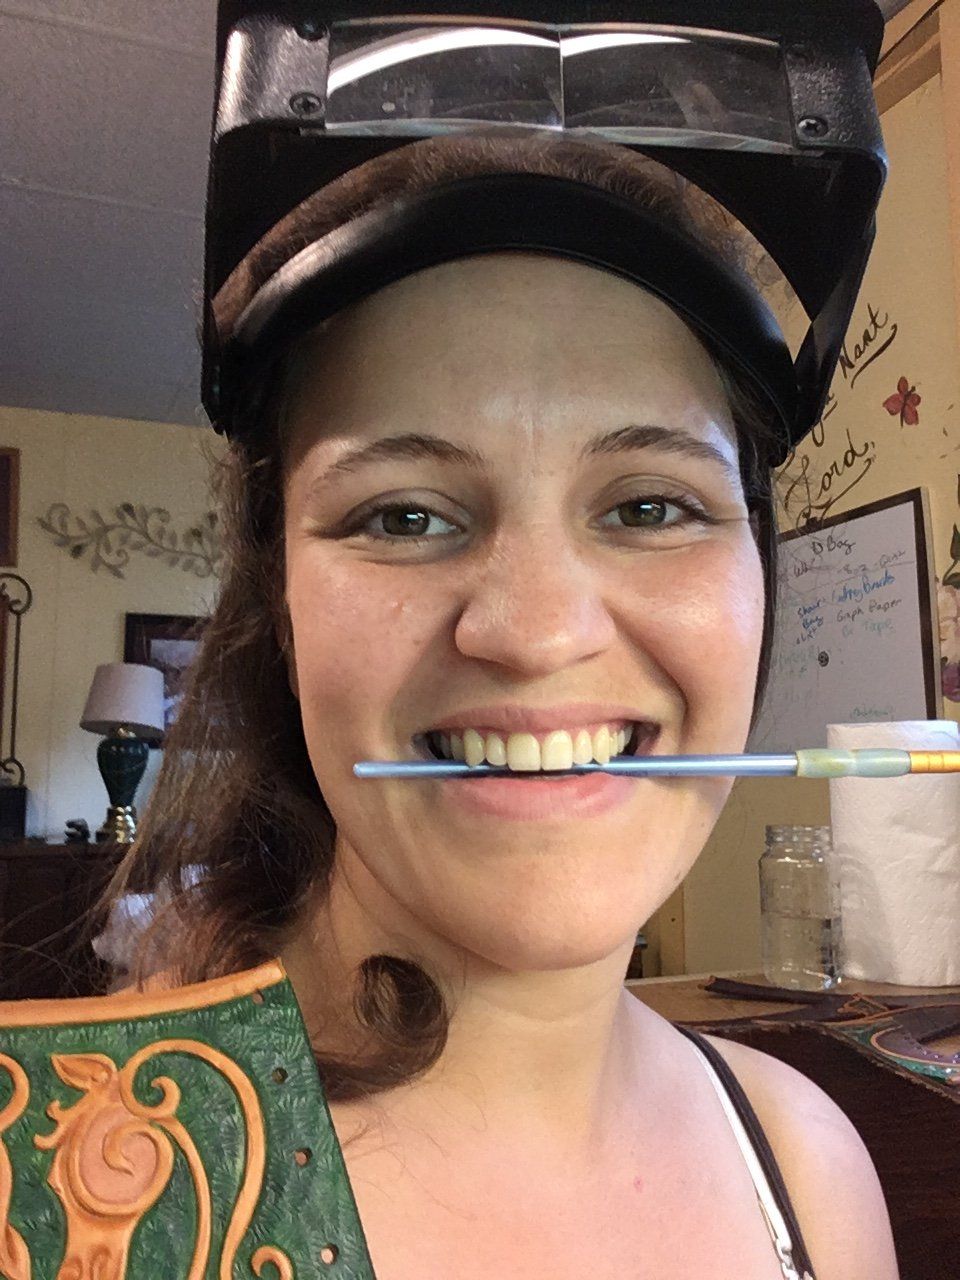
Painting
Here Is the artist hard at work dyeing a custom corset panel.
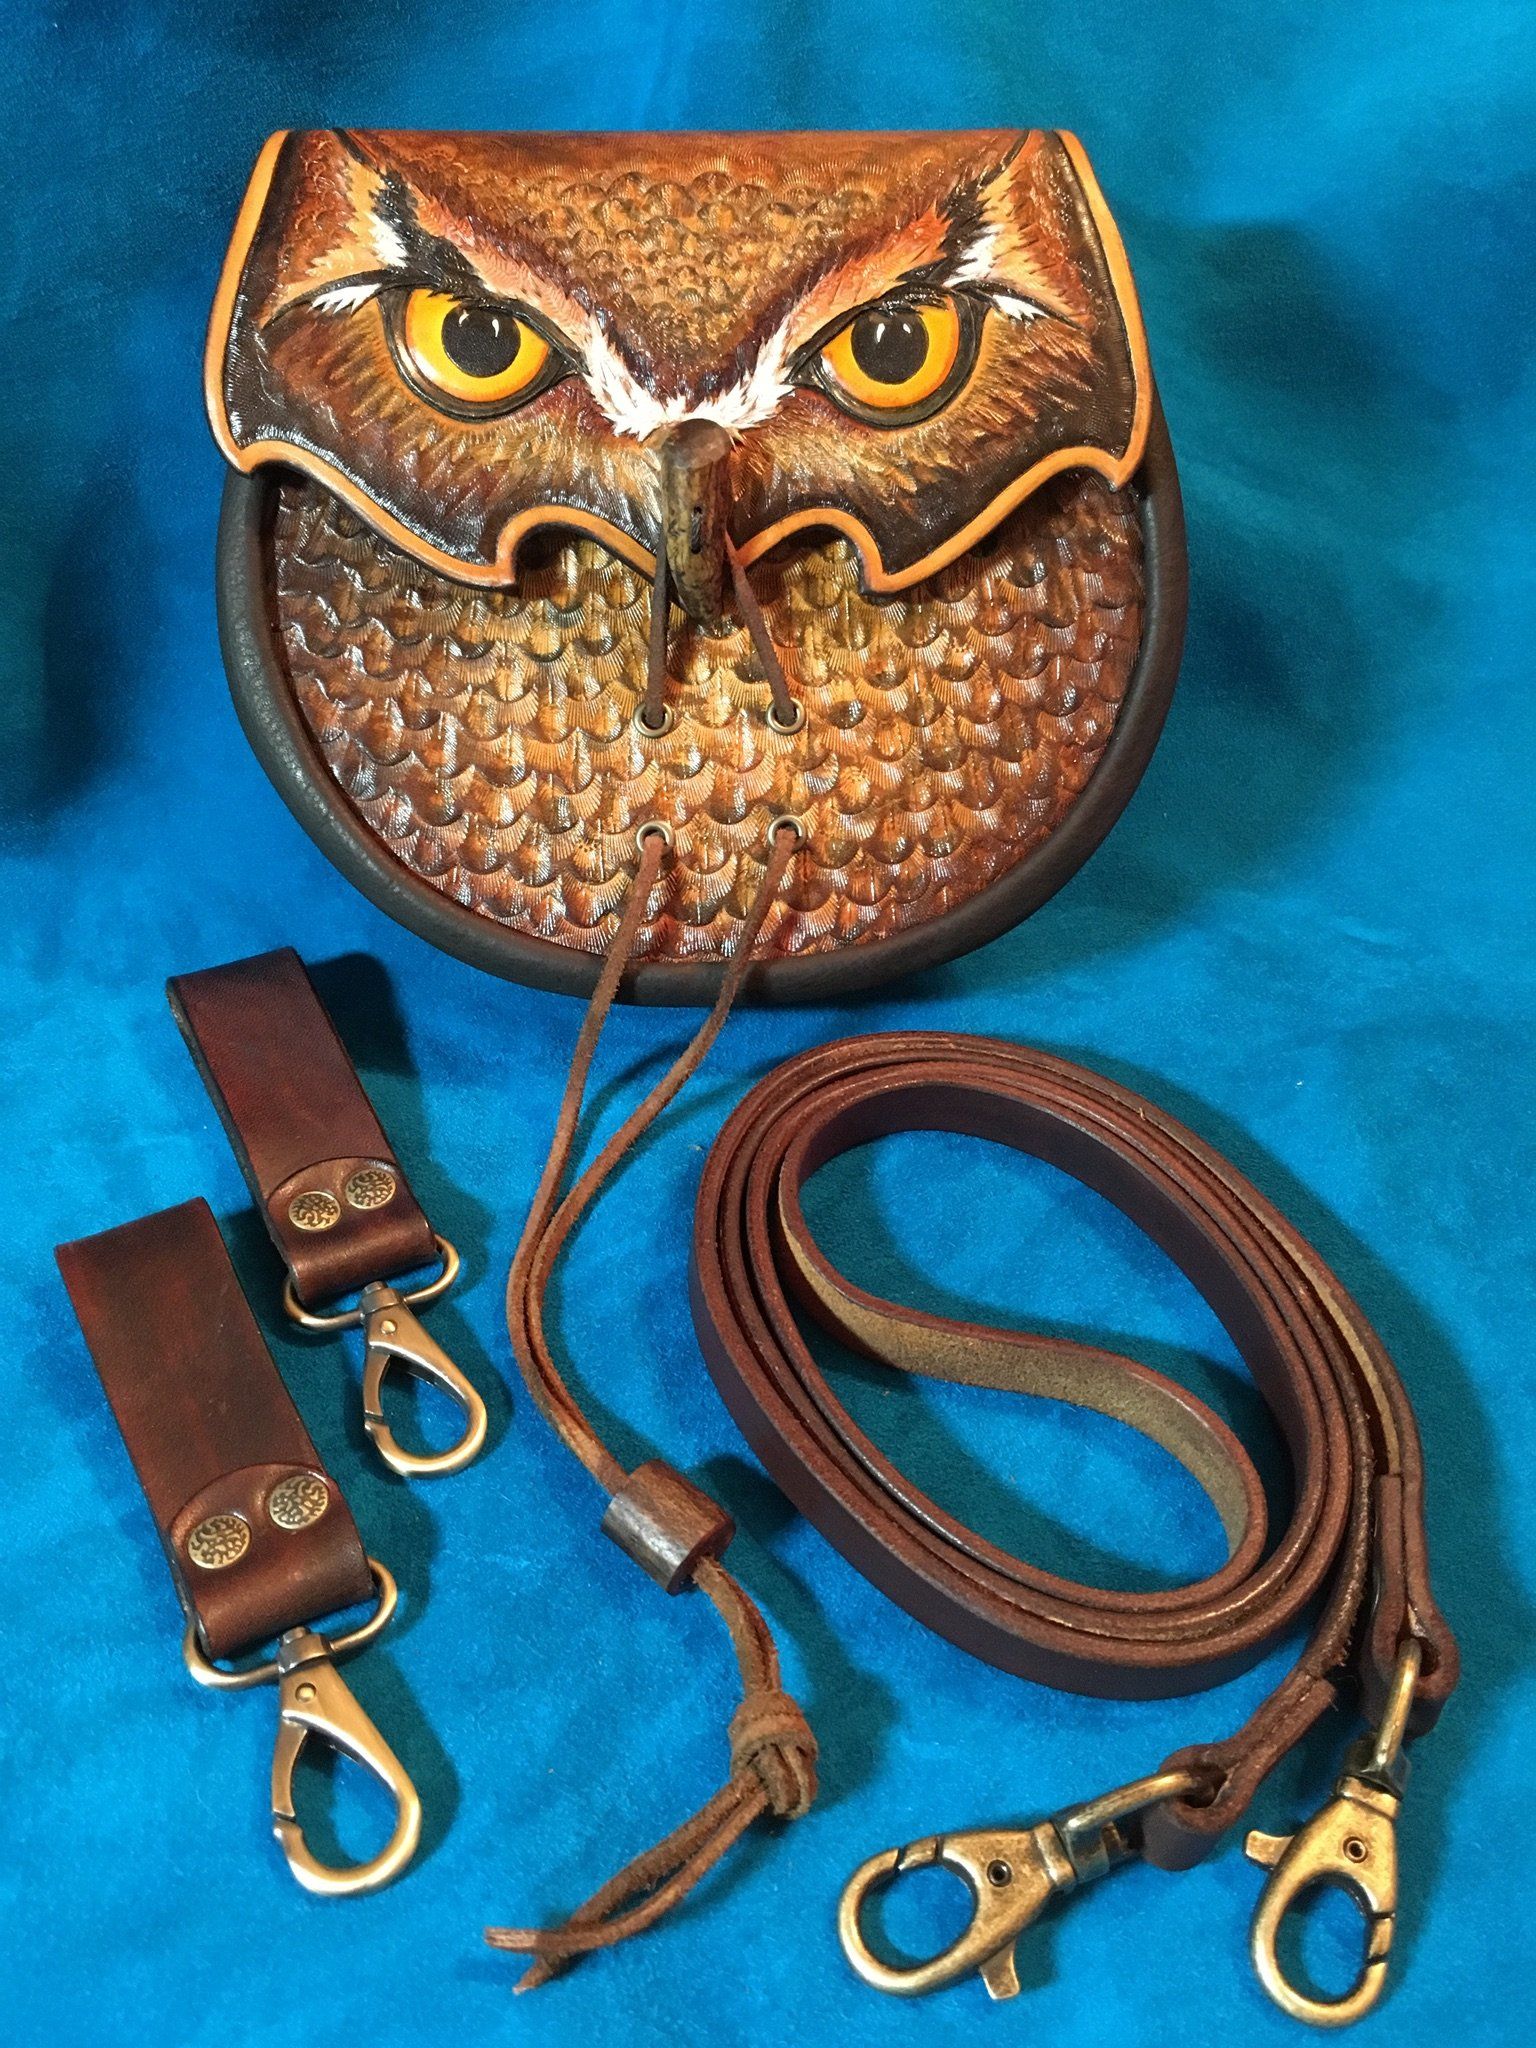
Assembly
Assembing the piece comes next. This task can include making and attaching any straps, hardware, closures and or decorations that are required, then gluing, lacing or stitching, by hand or by machine.
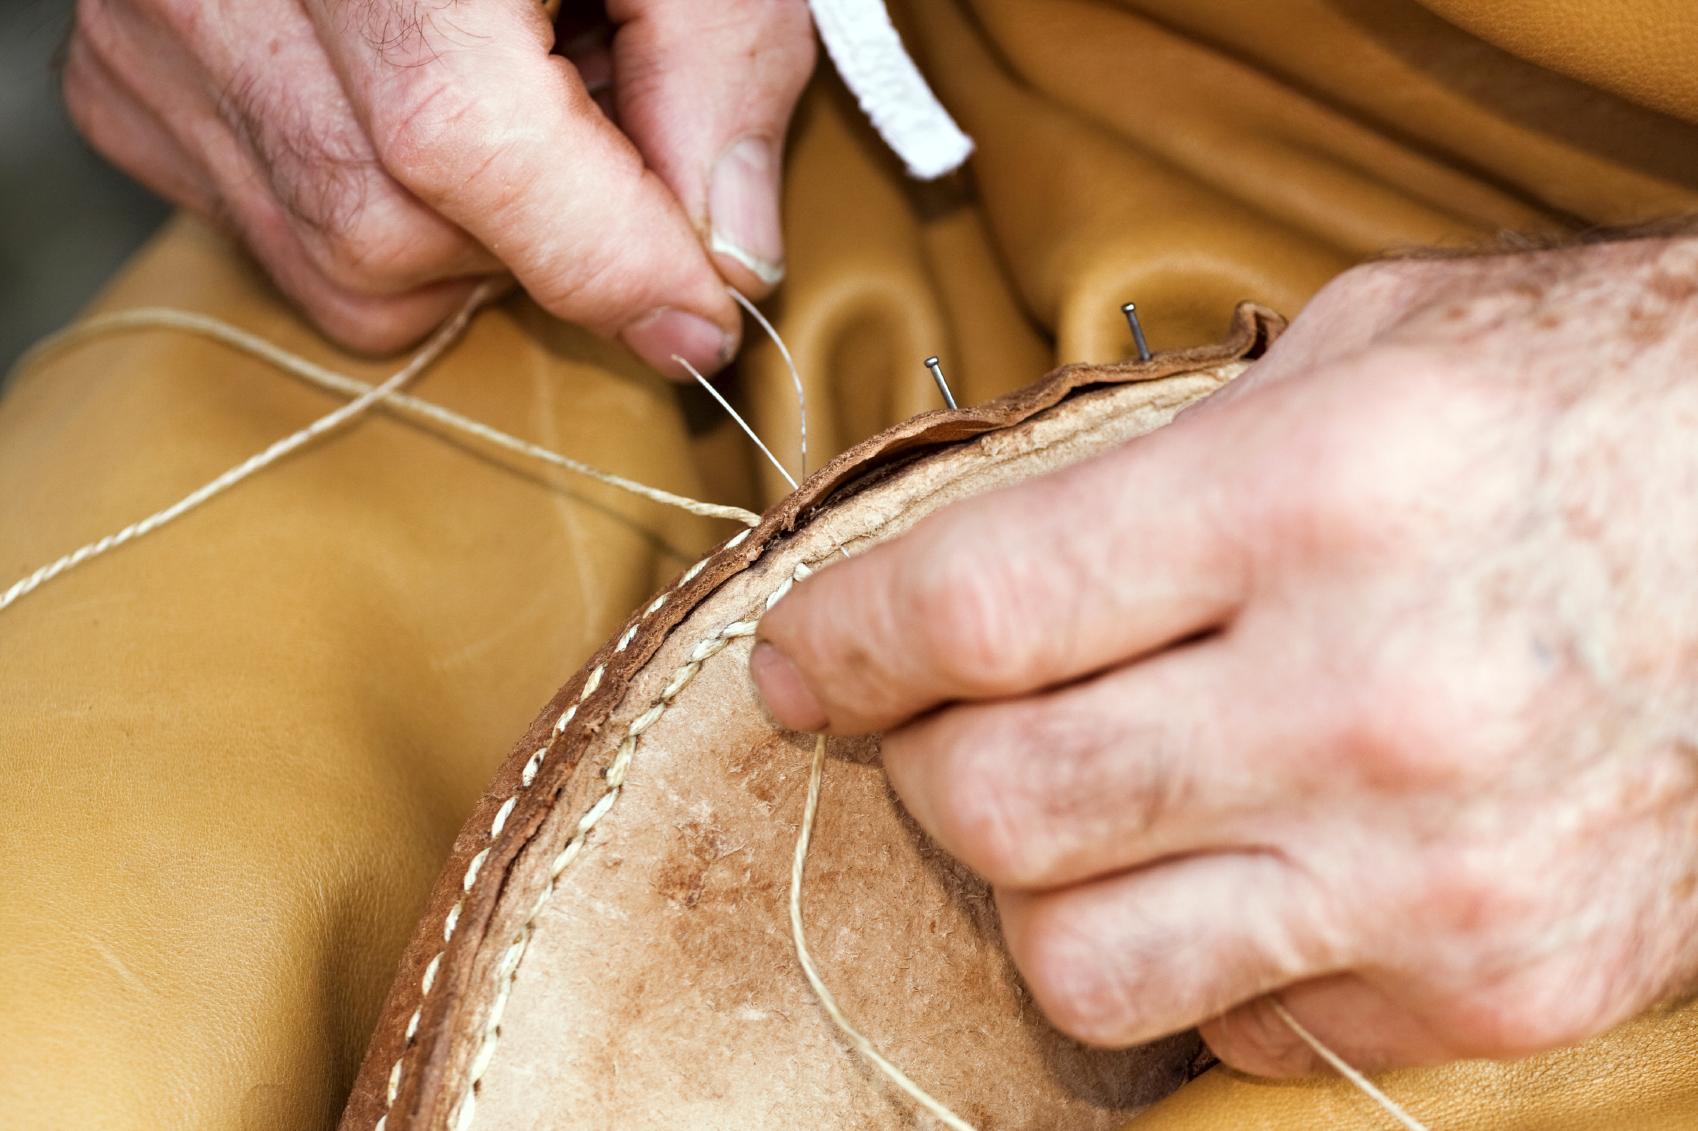
Hand Stiching
Hand Stitching requires needle, thread, glue, an awl, a stictching pony and a good amount of elbow grease.
Finishing
After assmebly all the edges need to be coated and slicked to give a smooth edge. Once the edges are completed and allowed to dry and cure I set up the photo booth and take display pictures. The piece is then ready to be invoiced, packed up and mailed to its new home.
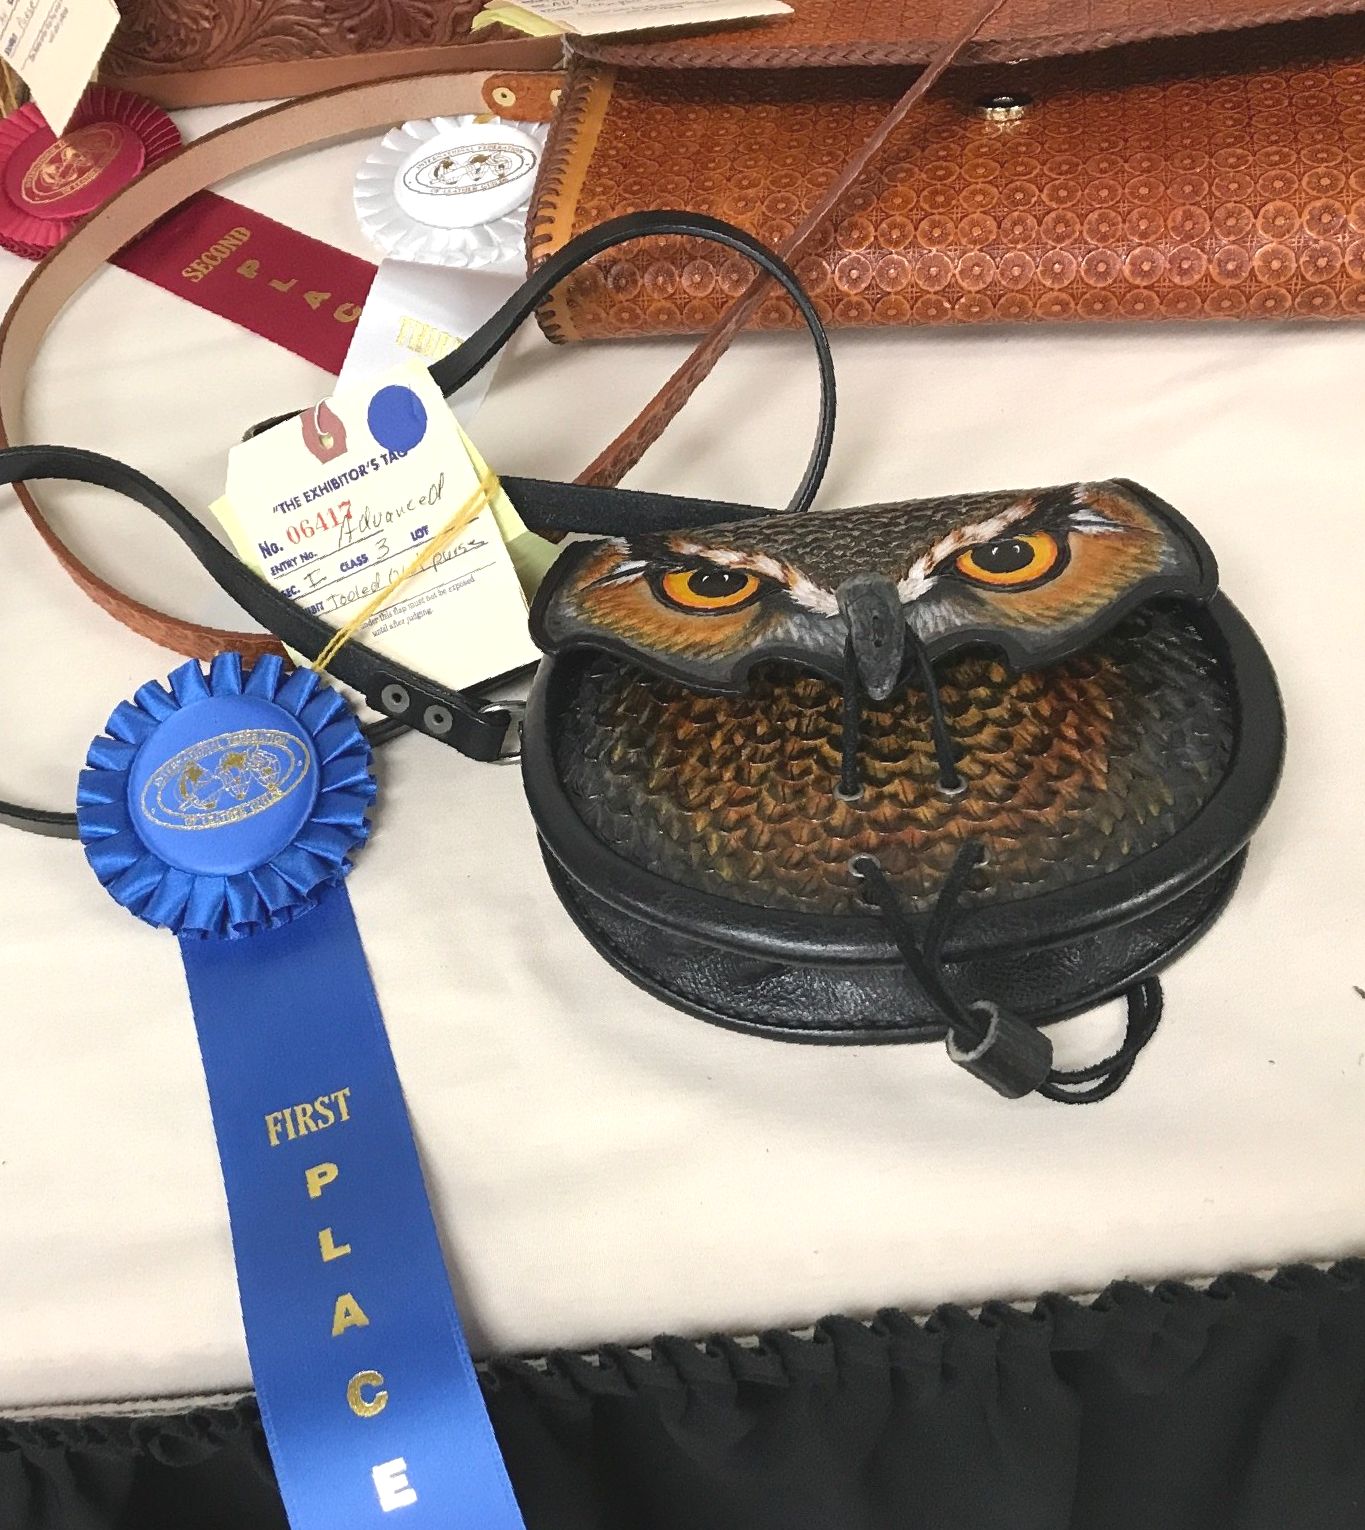
Competing
Occationally I enter my pieces into National Leather Competions which gives me a chance to stretch my skill and compete against other talented Artists.